Edit
Edit record
There are several ways to open the record editor when viewing a record:

Record view edit
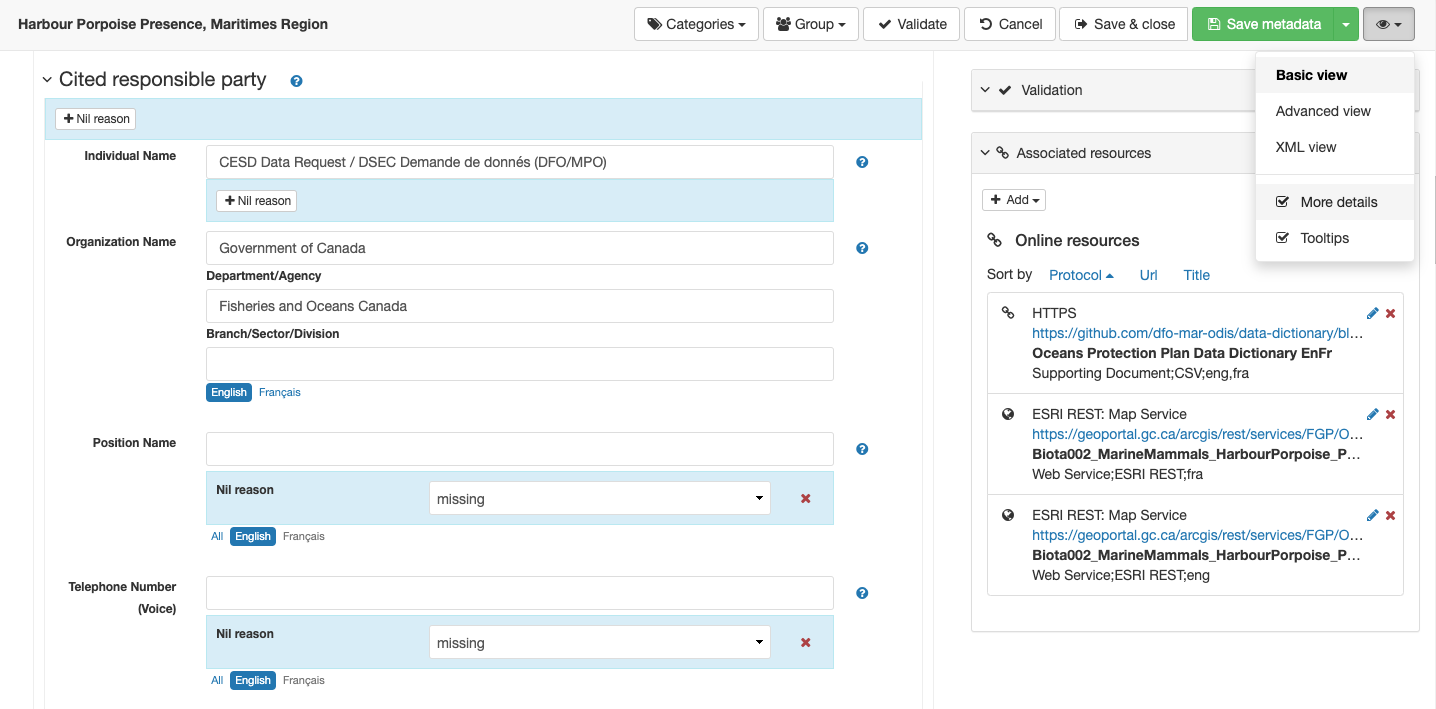
The record editor is started using the Basic view, showing the document title, current editor status, and a toolbar of editor actions.
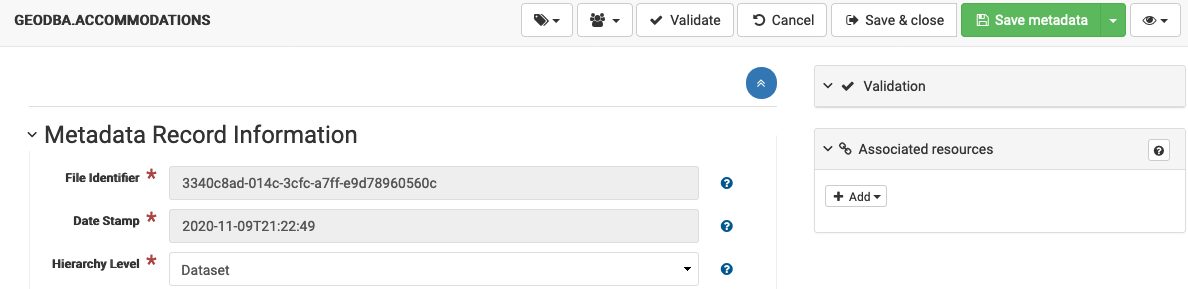
Record editor basic view
The Categories dropdown shows the categorization of the record. To update use the checkboxes to assign one or more categories to the record.
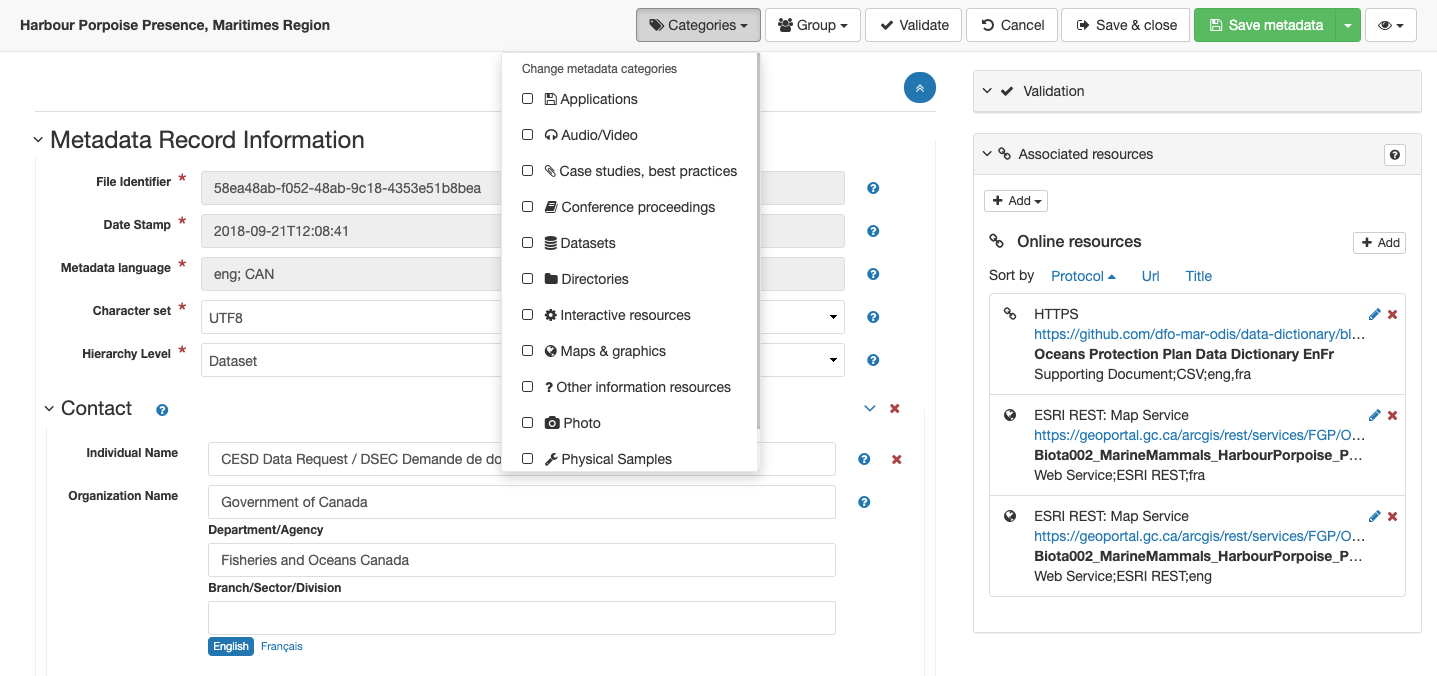
Change metadata Categories
Use the Group to show the group containing the record. To update use the radio button to transfer the record to a different group.

Change metadata group
Use the Validate button to check the structure and contents of the record.
Validation feedback is shown on the right-hand side of the screen.

Record validation
Editing is completed using:
Cancel to abandon any changes and return to viewing record.
Save & close to apply changes and return to viewing record.
Save metadata to apply changes and continue editing

Record apply, save and cancel options
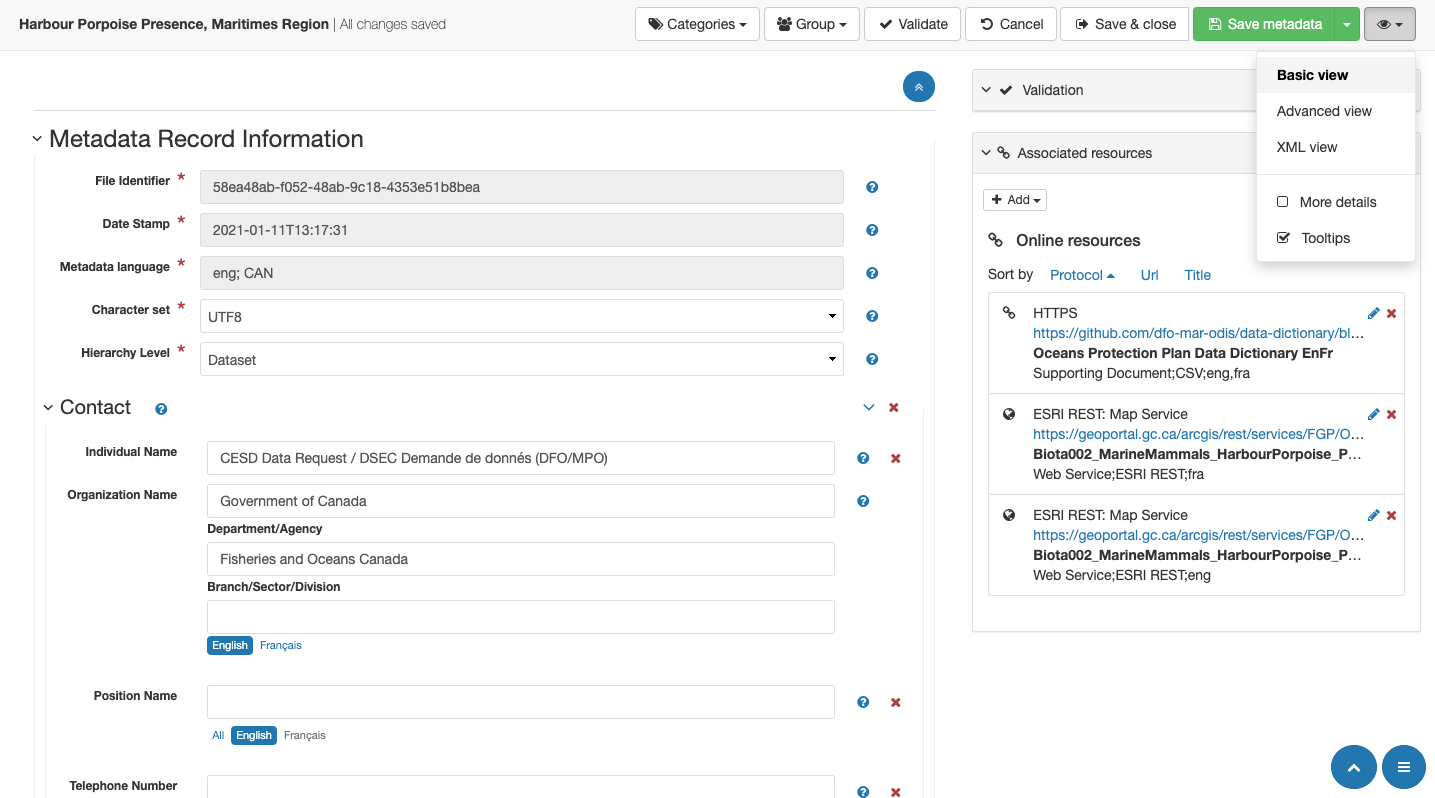
Use the View mode (at the top of the screen on the far right) to choose the editor you would like to use.
Basic view
Advanced view
XML view
Options to toggle tooltips and show more detail adjust how the editor is shown.
Basic view is recommended and provides easy access to the most commonly required fields.
Basic view is often used when editing an existing document.

Display mode basic view
The Tooltips and More details are used to toggle additional options for field editing.
Basic view with tooltips and more detail turned off.
Advanced view provides greater control over document structure, with + buttons to add additional information.
Advanced view is often used to add new sections when creating a document from scratch.
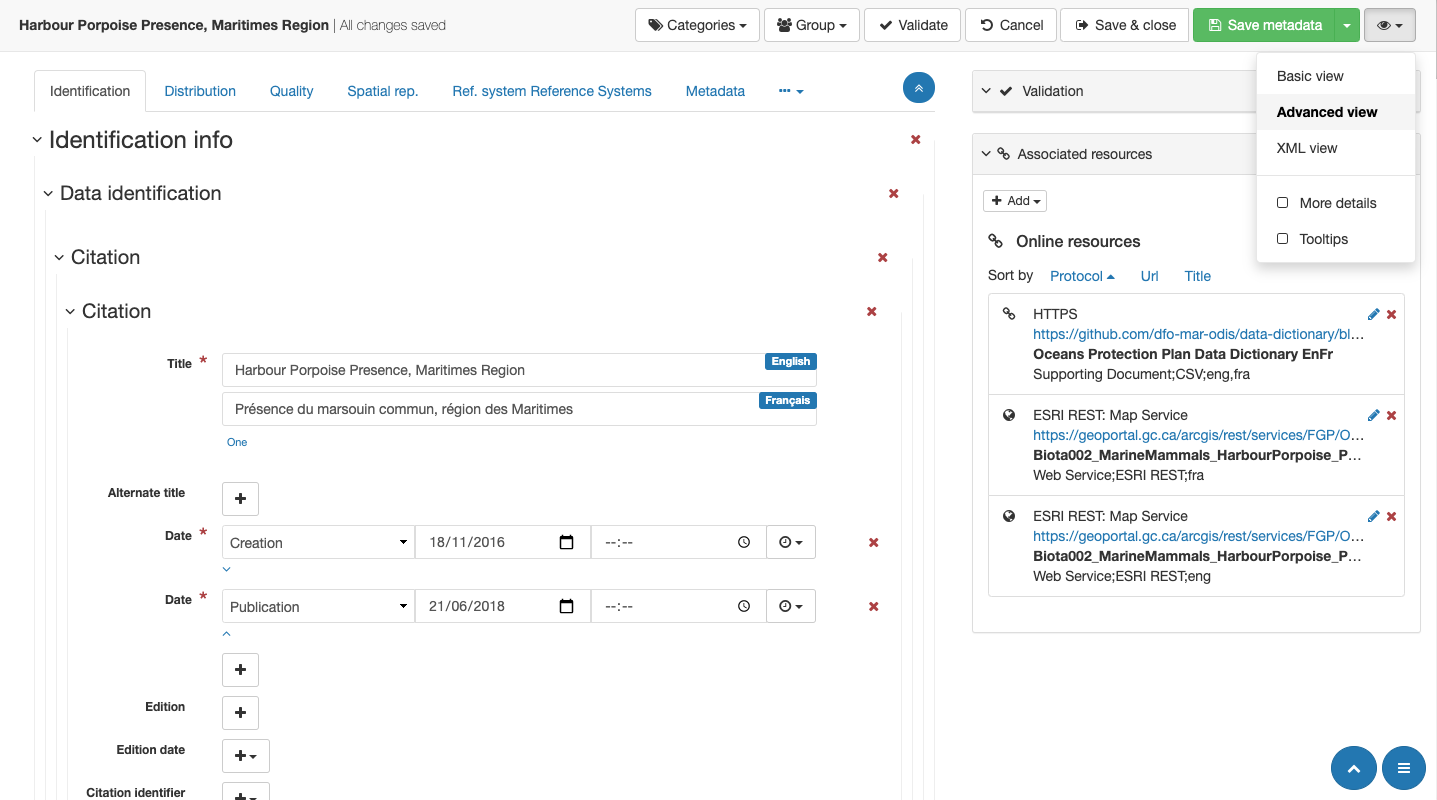
Display mode advanced view
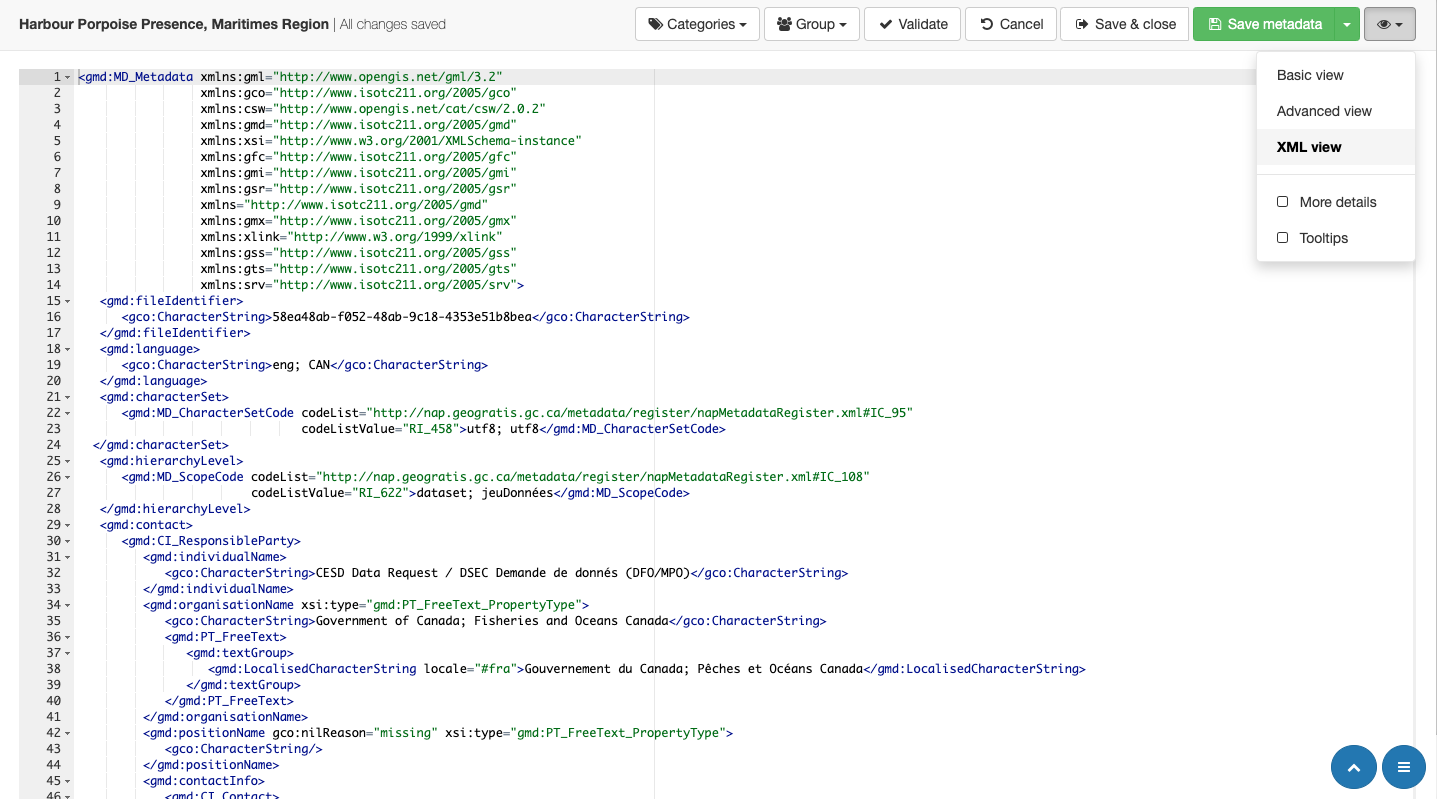
XML view is used to review the machine readable
xmlcontent.The XML view is almost exclusively used for troubleshooting and is not recommended.
Display mode xml view
Tips and tricks for editing records:
To edit directly from search results use the Edit button (shown as a pencil icon below).
Search results edit
Editor navigation
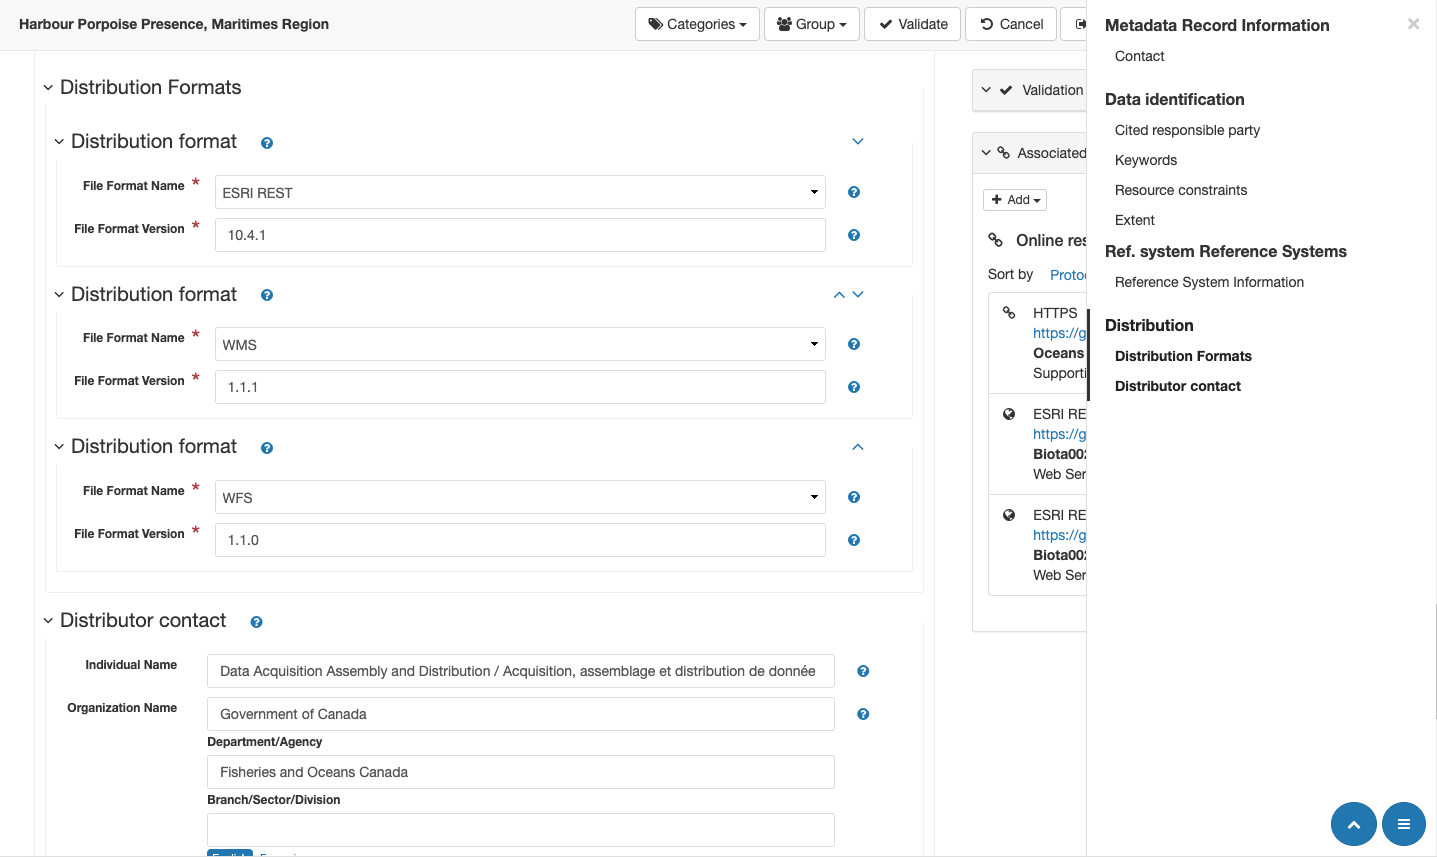
Records are divided into a series of nested sections covering different subjects.
Each section has a heading, use the v toggle next to each heading to hide and show the section contents.
Record headings
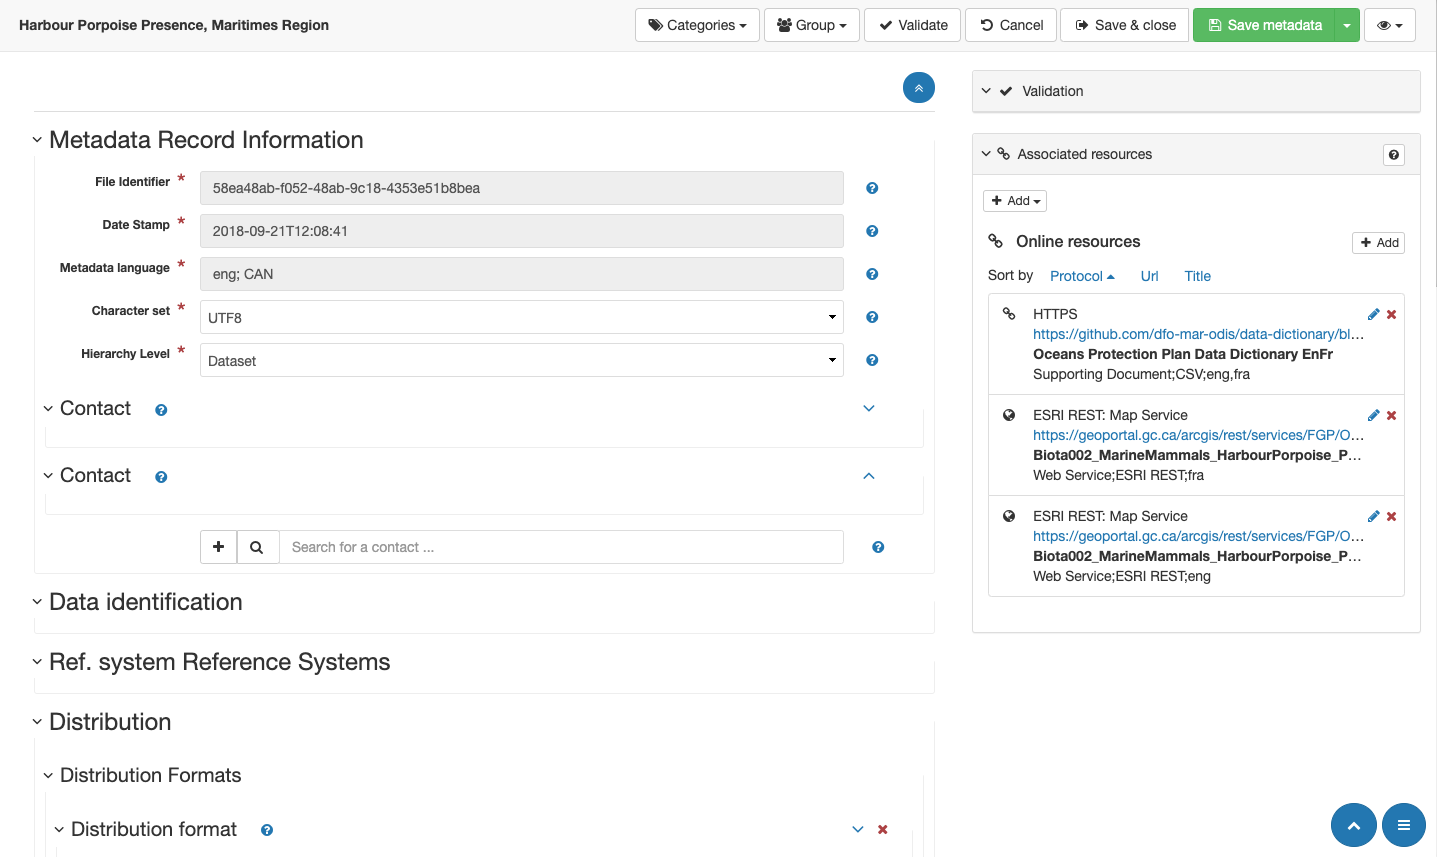
A overview of Metadata record information providing quick navigation is available at the bottom right of the page.
Click on a heading to jump to that section of the record.
As you scroll the overview will update to show the headings on screen in bold.
Metadata record information.
The bottom right of the screen also includes a Scroll to top button.
Editor fields
Record editing make use of data entry fields consisting of:
Label naming field content
Text field for data entry
Delete this field button to remove optional content.
Tooltip shown as a ? icon, describing field.

Text field.
Mandatory fields are labeled with a
*:
Mandatory field
Fields that cannot be edited are shown grayed out.

Non-editable field
To access tooltip information hover mouse pointer over ? icon.

Field tool tip
Use Delete this field to remove optional fields.

Delete this field
Text fields are used for data entry.
Text field.
Some text fields with a large number of options offer the ability to type or search to narrow down valid suggestions.

Type or search field
Select fields are used to choose between a limited number of options:
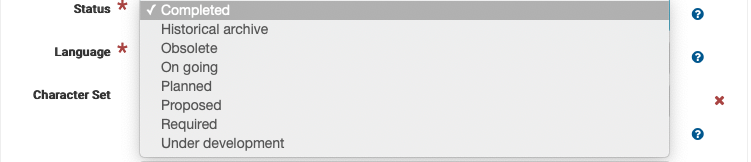
Select field
Note
Occasionally these fields will show an empty line, where a value has not been provided yet.
Optional vs Nil
Optional values, can be removed using Delete this field.
This button can be used to remove the Country field from and address.

Delete optional country field
This field is no longer included in the record (and may be re-added if needed using the Advanced view).
Advanced: Fields can also be filled in as Nil by opening up the View mode at the top of the screen and selected More details checkbox.
This provides additional Nil reason buttons that can be used to add one or more reasons why a value cannot be provided.
Email address witheld
Note
Be careful marking mandatory fields as Nil, as the resulting record may not be considered valid.
WMS Service Links
Edit record locate the Associated resources box on the right hand side of the editor.
Navigate to the Online resources heading, and press Add button to open Link an online resource dialog.
Change Protocol to select
OGC:WMS.Provide the GetCapabilities URL for the WMS Service:
Start with the GetCapabilities URL provided by the service publishing content.
Generally of the form
http://localhost:8080/geoserver/ows?service=wms&version=1.3.0&request=GetCapabilities.Append the parameter
&layers=nameto indicate the layer to display.Review the raw GetCapabilities document to see all the layers available in the service, layers are indicated using:
<Layer queryable="1">
   <Name>0</Name>
   <Title>National Tornado Events</Title>
   ...
To visually explore the GetCapabilities use a Desktop GIS application, or the included Map Viewer.
As shown above many ESRI WMS services tend to name layers using numbers layers=0, resulting in:
http://localhost:8080/geoserver/ows?service=wms&version=1.3.0&request=GetCapabilities&layers=0HNAP supports naming several layers (layers=habitat,study_area) from the same WMS service.
Use Resource name to provide the title of the layer in English and French.
The raw GetCapabilities document included the title of the layer:
<Layer queryable="1">
   <Name>0</Name>
   <Title>National Tornado Events</Title>
   ...
The description is broken up into three components, for OGC:WMS the following are appropriate:
Content type:
Web ServiceFormat:
WMSLanguage: Indicate if the resource is displayed with eng labels, fra labels, or mixed eng;fra content.
For WMS services which detect language dynamically adjust labels dynamically eng;fra is appropriate.
Use Function to select
Web Service(as the function performed by the WMS).If known the Application profile can be used to formally mark WMS services supporting specific WMS profiles (Open Search, Earth Observation, Temporal, INSPIRE, MapML).
Tips:
When viewing the record use Add to Map functionality to verify the web service link is correct.
Thumbnail generation
Navigate to the Online resources heading, and press Add button to open Link an online resource dialog.
At the top of the dialog, select Add a thumbnail.
The available files, including any previously generated thumbnails are listed in the Metadata file store.
The Generate thumbnail using the view service is used to generate new thumbnails.
Use the Generate thumbnail using the view service:
The Layout and Scale is used to define the capture area.
The capture area is displayed as a light area providing a clear representation of the thumbnail to be generated.
Adjust the scale first until the capture area encloses your content, and then adjust the layout for an aspect ratio that matches the arrangement of your content.
Use the mouse to pan the area shown and the scroll wheel to adjust content displayed within the capture area
When ready press Generate thumbnail to save a new image.
Return to the Metadata file store and locate your new thumbnail:
Preview using Open resource
You can use Delete resource if the image is not quite correct, and generate replacement thumbnail.
Select the thumbnail to update the Overview displayed for the record.
The thumbnail can be downloaded by visitors, use Resource name to provide an english and french filename for this image.